Geo-Tagging
The following workflow is the non-PPK method of geo-tagging images. While PPK achieves centimeter level postion data, normal geo-tagging results in much lower accuracy because there is no position refinement.
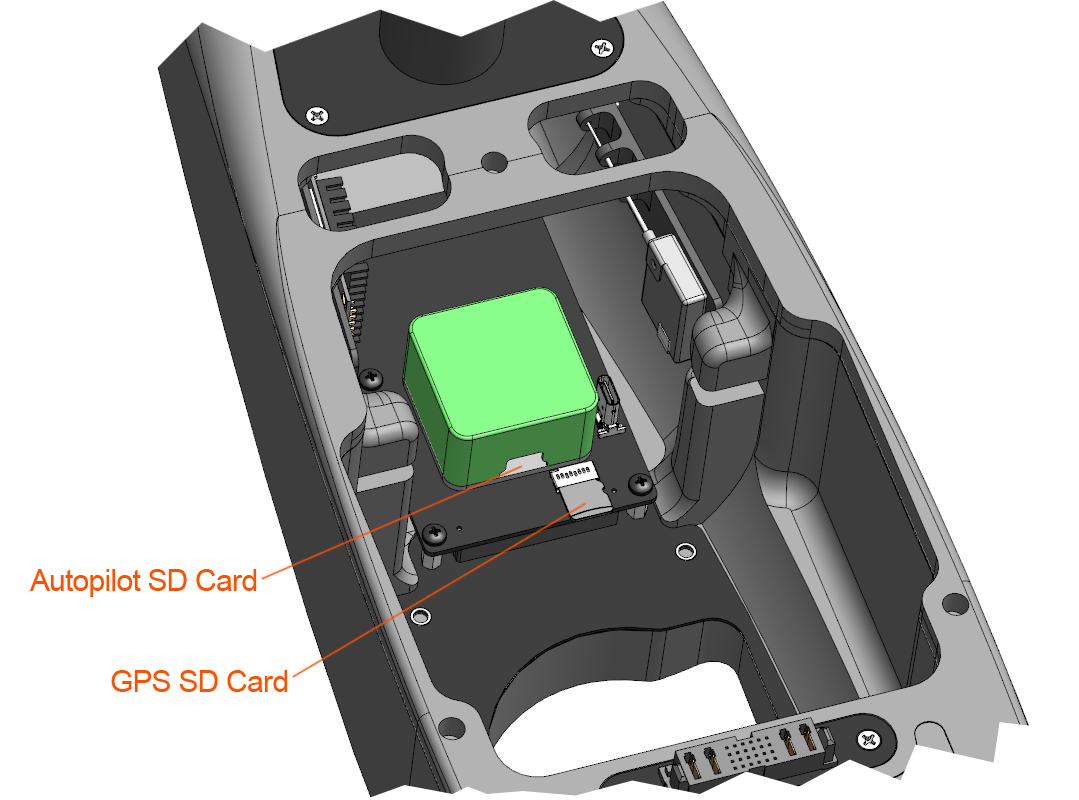
Start by removing the camera and camera mount from the payload bay (only required with Standard Mapping Payload). Once removed, both the autopilot and GPS micro SD cards are accessible. Either will work for geo-tagging position data, but only the autopilot log will tag with roll, pitch, and yaw data. The autopilot's micro SD card is flush with the front of the autopilot in a spring loaded housing. You will need to first push in with your fingernail to pop the card out. Insert the card into your GCS computer.
Geo-Tagging in Swift GCS

Open Swift GCS ⇨
Geo-TagSelect log file. Select the log file that is being tagged. Tagging can use either the log file from the autopilot or the onboard GPS.
Select the folder containing your photos.
Select the photo that was used as the sync photo.
Select where the resultant tags (.csv) should be saved to.
If EXIF tags need to be written as well, this can be done by checking the box under
Advanced options.Select tag photos to begin the tagging process. Once complete the results will be shown.
Select to restart the tagging process as needed.
The results page will indicate how many photos were tagged. An icon will be drawn on the map for each tagged location. The statistics section will give a histogram of ISO, aperture, and shutter speed for your entire flight.
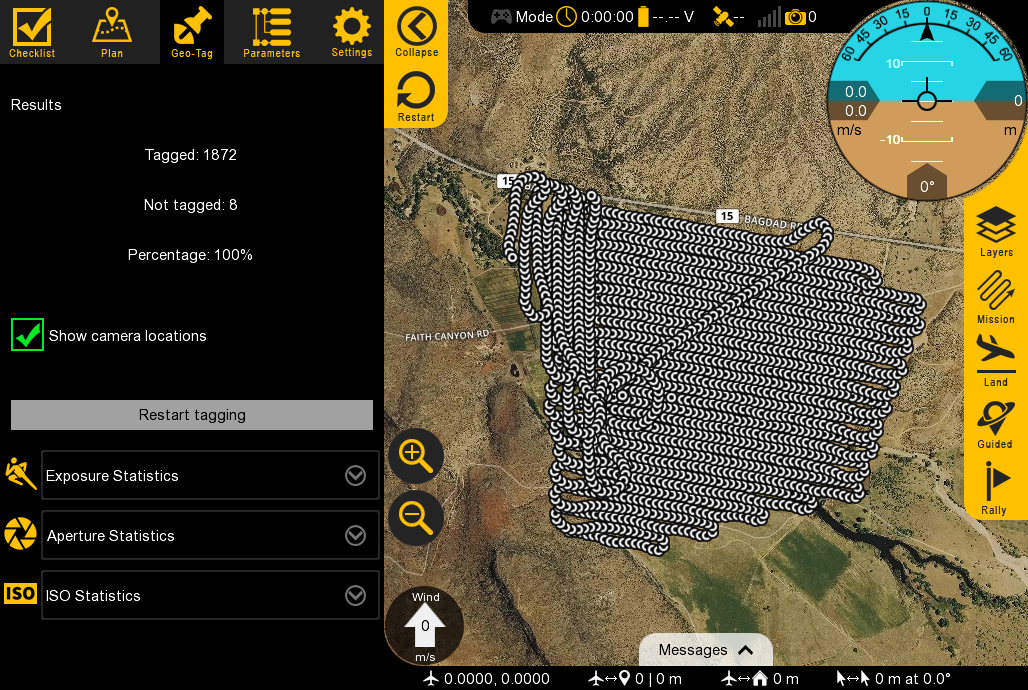
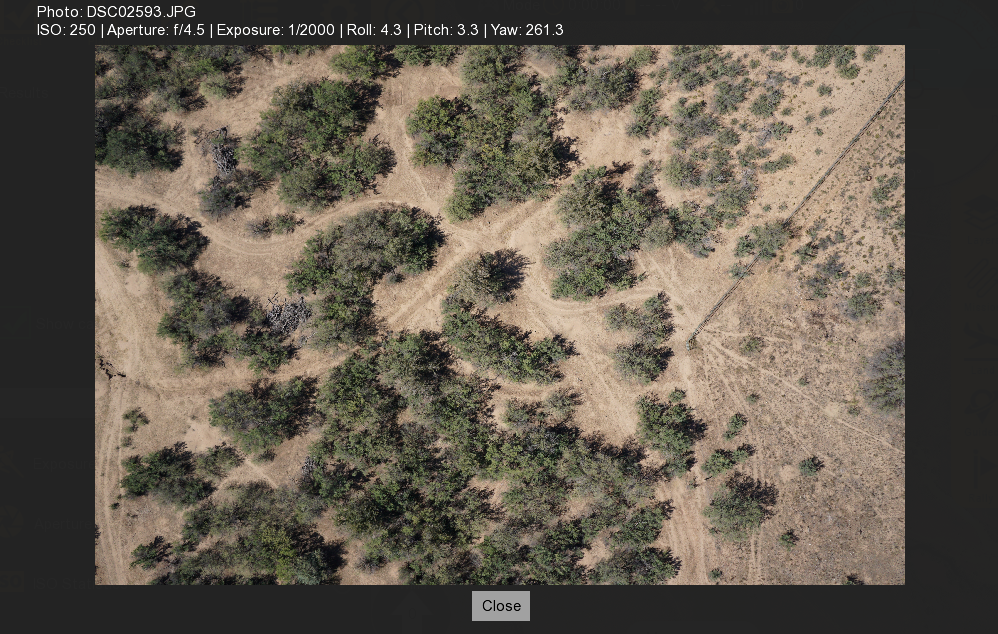
You can click on one of the map icons to see that specific image and more information.
Geo-Tagging Multispectral Images
Multispectral data will already be tagged with the aircraft's position while flying. Additional processing is only required if PPK accuracy is required.